Wednesday, October 17, 2012

Recipe Creation: Mexican Street Corn Crostini


I have a total obsession with corn and I always have bittersweet feelings about this time of year.  As much as I love fall and winter vegetables, I know this is my last chance to get fresh corn.  Since the season is coming to an end, I figured I needed to take advantage of these last few weeks of availability.  This recipe puts the deliciousness of Mexican street corn right on a perfectly grilled slice of ciabatta.  A perfect marriage of flavors, and just in time!

Makes 12

Ingredients:
  • 2 ears of corn, shucked
  • 1/4 cup light sour cream
  • 5 tbsp queso fresco
  • Ciabatta, sliced
  • Chili powder
  • Olive oil
  • Vegetable oil
  • 3 tbsp cilantro, chopped
  • 1 lime, quartered
  • Salt & Pepper


Directions:

-Preheat grill to medium.

-Rub corn with vegetable oil and season with salt and pepper.

-Grill until slightly browned, but still firm.  Cut the corn off the cob in chunks.

-Meanwhile, brush ciabatta slices with olive oil and grill until toasted.

-Mix the sour cream with 3 tablespoons of queso fresco.

-Smear the mixture on each slice of grilled ciabatta.

-Top each slice with grilled corn, a pinch of chili powder and a little cilantro.

-Sprinkle with extra queso fresco, salt & pepper, and a squeeze of lime.

¡Que Rico!


Tuesday, October 2, 2012

Restaurant (Re)creation: Jackson Fillmore's Zucchini Carpaccio


This recipe is loosely based on an iconic salad from a little San Francisco trattoria called Jackson Fillmore.  It is one of those dishes that always stays on the menu- and for good reason.  It's simply divine.  My (re)creation is a bit different, but the essence and simplicity of the salad remain.  For my version of the dish, I used a combination of zucchini and summer squash and used a vegetable peeler to create the thin ribbons.  I also opted for toasted pine nuts instead of almonds and garnished the salad with a few leaves of fresh torn basil.  The best part about this dish is, there is no cooking involved (other than toasting the pine nuts).  You can either serve this salad warmed in a skillet or you can serve it cold and straight from the bowl.  It's a perfect addition to a lazy weeknight meal.

Serves 3-4

Ingredients:

  • 2-3 zucchini or summer squash
  • Slice of lemon
  • Olive oil
  • Shaved Pecorino
  • 3 tablespoons toasted pine nuts (or almonds)
  • 3 fresh basil leaves, torn

Directions:

-Wash and dry the zucchini and squash.
-Using a vegetable peeler, shave thin ribbons of the vegetables into a medium bowl.
-Squeeze a small amount of lemon over the vegetable ribbons and drizzle with olive oil.
-Season the salad with salt and pepper, and sprinkle with thick slices of Pecorino.
-Garnish with torn basil and serve immediately.

And if you're a purist, here is the original recipe from Jackson Fillmore (in video form):


~Video courtesy of Jackson Fillmore~


Jackson Fillmore
2606 Fillmore Street
San Francisco, CA
(415) 346-5288
jacksonfillmoresf.com

Monday, September 24, 2012

Recipe (Re)creation: Fried Egg and Avocado Pita


This is what I would consider a weekend creation that is easy enough for a weekday and perfect for breakfast, lunch, or dinner.  It's sort of like the all-purpose meal and is the ultimate comfort food.  It was inspired by an avocado that was sitting in our fruit bowl looking perfectly ripe and ready to eat.  It was given to my husband by a coworker whose family has an avocado farm, so I knew this was going to be amazingly fresh and I wanted to put it to good use.  While scouring recipes and ideas, I came across this one on What Gaby's Cooking. I just tweaked the quantities and proportions a bit and it was an instant hit.  The citrusy smashed avocado blends perfectly with the creamy yolk, and the best part is: it can all be sopped up with the pita.  One bite of this takes me straight to my happy place- whether it's the weekend or not.

Ingredients:
  • 1 small ripe avocado
  • 1/4 of a lemon
  • 2 fresh eggs
  • 2 pitas
  • salt & pepper

Directions:

-In a bowl, mash the avocado until it is fairly smooth.  
-Squeeze with a little bit of lemon and season with salt and pepper.
-Meanwhile, heat up pitas, either in the oven or in a toaster.
-Heat a non-stick skillet over medium low heat.
-Crack an egg into a cup and gently pour into the skillet.  
-Cook until whites are set and the edges of the egg start to brown.
-Repeat with the second egg and set aside.
-Spread each warmed pita with avocado, and top with a fried egg.
-Season with salt and pepper.

*Optional- for an added kick, top with hot sauce or red chili flakes.


Sunday, September 16, 2012

Restaurant (Re)creation: Tartine's Kale Caesar


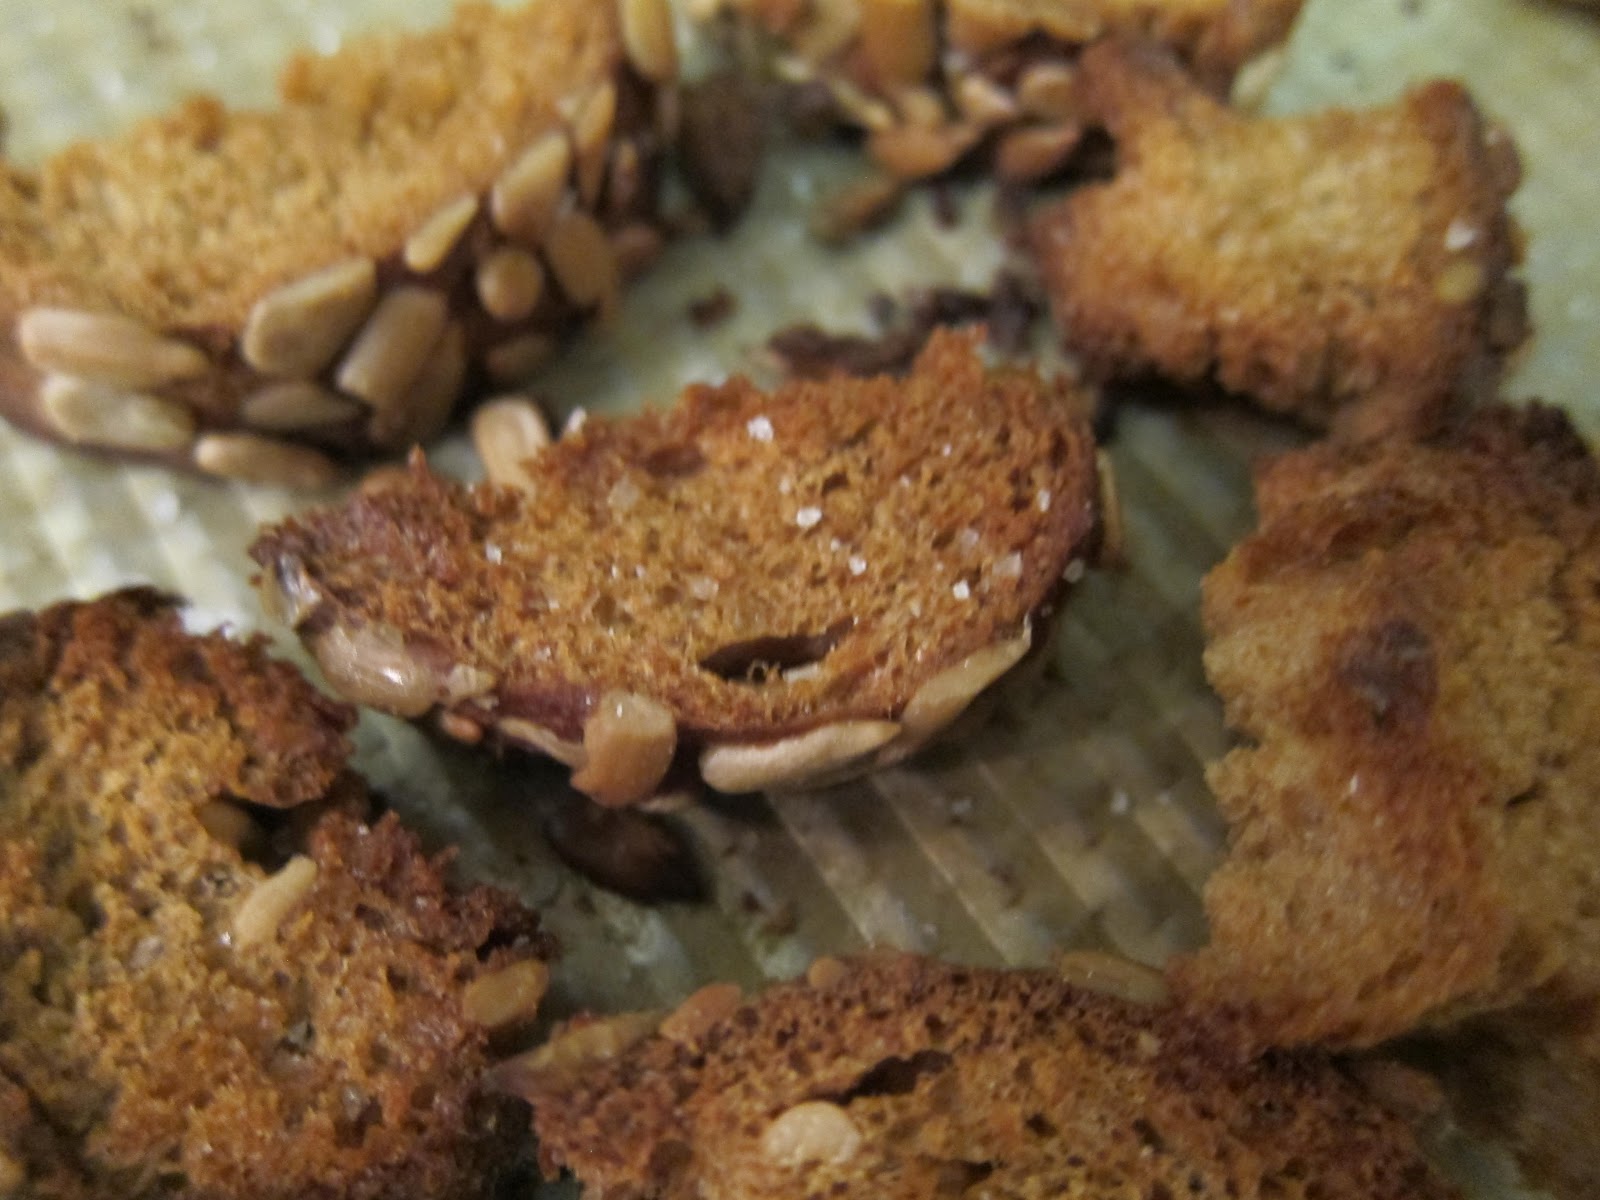
The bread at Tartine Bakery is legendary and sells out within an hour almost every day.  While I LOVE their bread, I am still of the mindset that I would rather buy it than make it.  So buy it I do!  The best part is, you don't have to eat it all in one day one at the risk of having to throw it out once it is no longer fresh.  Their day-old bread is perfect for homemade croutons.  Really any day-old high quality bread will do.  These croutons pair perfectly with most salads, but especially this kale caesar below.  I just got Red Russian Kale delivered in my vegetable box from Albert & Eve and it was the perfect incentive to try out this recipe.  I got it straight from The Tartine Bread Cookbookand made just one small change.  I used fewer anchovies in the dressing than the recipe calls for, since I'm not a huge anchovy fan, but other than that, it's true to the original.  The recipe is fairly simple, healthy, and the perfect addition to a weekday meal.  Plus, you don't have to wait in long line at Tartine to enjoy this- you can have it in the comfort or your own kitchen.  What could be better?

Serves 4-6

Ingredients

For the croutons:

  • 4 slices day-old country bread (or any rustic baguette)
  • 2 tablespoons olive oil
  • salt

For the Caesar dressing:

  • 2 lemons
  • 3 cloves garlic, diced
  • 5 olive oil-packed anchovy fillets
  • 1 large egg yolk
  • Salt
  • 2 cups olive oil

For the salad:

  • 2 lbs kale, center stem removed
  • 2/3 cup shaved aged parmesan

Directions


Preheat the oven to 400 degrees F.  Tear bread into 1 1/2 inch chunks and toss with olive oil and a pinch of salt.

Spread the bread evenly on a baking sheet and bake for about 12 minutes, or until golden brown.  Remove from head and set aside.

To make the dressing, grate the zest from 1 lemon.  Put the garlic, anchovies, and lemon zest in a mortar and pestle and pound to make a thick paste.

Add the egg yolk, a pinch of salt, and a squeeze of lemon juice and stir to combine.  While stirring, pour in 1/2 cup of the oil a little bit at a time.  The mixture should look smooth and creamy.  Continue adding the oil as you stir until the dressing thickens, adding squeezes of lemon periodically.  Add salt and lemon juice to taste and add water (one spoonful at a time) until dressing thins to the consistency of heavy cream.

Combine kale and croutons in a large bowl.  Pour the dressing over the kale and toss.  Top with Parmesan and serve immediately.

Enjoy!

Tartine Bakery
600 Guerrero Street
San Francisco, CA
(415) 487-2600
www.tartinebakery.com

Wednesday, September 5, 2012

Recipe (Re)creation: Gwyneth's Chicken Paillard


I am not a huge fan of chicken.  There are so many chicken recipes that are boring or bland so I'm usually turned off.  However, if I'm going to have chicken, there are three preparations I like: roasted chicken, chicken spiedini, and chicken paillard.  Of the three, chicken paillard is by far the easiest and it  is so juicy and delicious.  I based this recipe on a recipe that Gwyneth Paltrow shared on her blog GOOP.  Its beautiful in its simplicity and the flavors are all clean and pair with one another seamlessly.  I served the chicken over a simple arugula salad with shaved pecorino, sliced cherry tomatoes, olive oil and a squeeze of lemon.  Its a perfect little one-dish wonder and literally takes 5 minutes to cook!

Ingredients:

  • 2 chicken breasts
  • 1 tablespoon flour
  • Olive oil
  • 1/2 lemon
  • Salt & pepper 

Directions:

Place the chicken breasts between two sheets of parchment paper or saran wrap.  

Pound the cutlets with a heavy pan until they are about 1/4 inch thick.  

Season both sides of the cutlets with salt, pepper, and a small amount of flour.

Coat the surface of a skillet with olive oil and put on medium to high heat. 

Cook each chicken breast for 2-3 minutes on each side.  

The skin should start to crisp up and brown but the inside should be tender and juicy.  

Serve over a a simple arugula salad (see above).

Simply delicious!


Wednesday, August 29, 2012

Recipe Creation: Grilled Fig, Peach + Goat Cheese Pizza


This recipe is easy, seasonal, and perfect for a warm evening when you want to get out and take advantage of your grill (or someone else's).  You can throw on any of your favorite ingredients and change it based on whatever is in season, or happens to be in your fridge.  I use pita bread as the crust because it makes nice individual pizzas, but you can also use pre-made or homemade pizza dough.  If you are like me though, making homemade pizza dough after work is not in the cards.  You can take this concept on the road too, and have a little "pizza bar" and your guests can make their own personal pizzas with different toppings.   The possibilities are endless...

Serves 2

Ingredients:

  • 2 pitas (whole wheat or white)
  • 1/2 cup part-skim ricotta
  • 1/4 cup crumbled goat cheese
  • 4 figs, sliced thinly
  • 1 peach, cut in quarters and sliced thinly
  • 1/4 shallot or red onion, sliced thinly
  • Olive oil
  • Salt and pepper to taste


Directions:

-Preheat grill on medium-high heat.

-Meanwhile, sauté shallots in olive oil until translucent and slightly crispy.

-Remove shallots from heat and set aside.

-Spread about 1/4 cup ricotta on each pita and top with sliced figs and peaches.

-Sprinkle with crumbled goat cheese.

-Place pita pizzas on the grill and cover.

-Grill pizzas for 10-15 minutes, or until the pita begins to crisp and the cheese begins to melt.

-Top with crispy shallots, and season with salt and pepper.

~Enjoy~


Sunday, August 19, 2012

Restaurant (Re)creation: Hog Island's BBQ'd Oysters


If you are going to have oysters in Northern California, you can't go wrong with the fresh little bivalves from Pt. Reyes.  Hog Island Oysters is a favorite spot to stop for BBQ'd oysters and wine on picnic tables overlooking Tamales Bay.  I just experimented with their BBQ'd oyster recipe from The Hog Island Oyster Lover's Cookbook and the recipe was quite a hit.  I made them for a lawn party we had and doubled the recipe and they disappeared in minutes!  Now you can bring Pt. Reyes home with you and enjoy your own BBQ'd oysters with a nice glass of bubbly in your backyard.

Makes 2 dozen oysters

Ingredients:

  • 1 cup ketchup
  • 1/4 cup Worcestershire sauce
  • 3 cloves garlic, crushed
  • 2 tbsp honey
  • 2 tbsp freshly squeezed lemon juice
  • Dash of Tabasco sauce
  • 2 dozen small Sweetwater oysters

Directions:

-In a medium bowl, combine all ingredients and stir to blend.  Cover and let sit for an hour.  (Sauce can be made up to 2 days ahead).
-Prepare a medium hot fire in a charcoal or gas grill.  Place shucked oysters on the center of the grill and spoon 1 tbsp of sauce onto each oyster.
-Cover grill and cook for 3-5 minutes, or until the sauce begins to bubble.  Don't overcook!  
-Serve immediately on a rock salt lined platter.
-Eat them quickly before the disappear!


Hog Island Oyster Farm
20215 Shoreline Highway
Marshall, CA 94940
(415) 663-9218